When transferring the data from old Samsung to new Samsung, contact is one of the most important items. After a long period of accumulation, contacts certainly cannot be discarded. However, the data transfer between devices is not so easy, it is bothering to manually add them to the new Samsung one by one. In this case, you can transfer contacts via SIM card or Google account backup, if they are invalid, you can also use the smart toolkit we want to recommend.
Swap SIM Card to Transfer Contacts from Samsung to Samsung
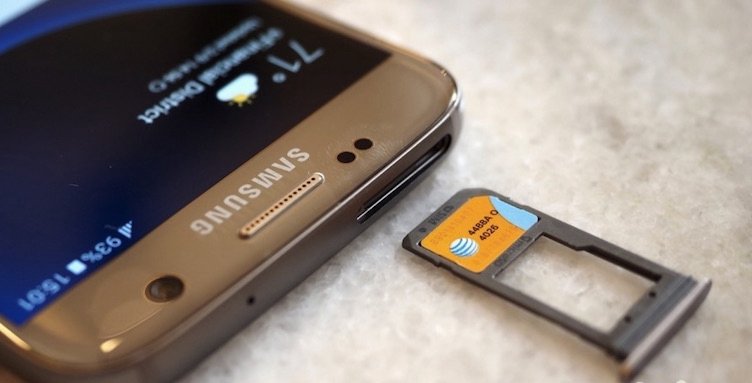
SIM card is helpful for contacts transfer, by swapping the SIM card over the two Samsung phones, transferring contacts on your new Samsung is very easy, with the precondition that you have saved the contacts to your SIM on the old Samsung and the SIM size fits your new Samsung.

Step 1. On the old Samsung, copy the contacts to the SIM card.
Go to Contact and find the More icon in the top right corner, tap Settings > Import/Export contacts > Export > Export to SIM card.

Step 2. Take out the SIM card from the old phone and insert it into the new phone.
Step 3. On a new Samsung phone: go to Contacts App, tap on the “More” icon > Import contacts > Import from SIM card.
Sync Contacts between Samsung Phones via Google Account
Besides swapping SIM, transferring contacts can also be done via Google sync. On your old Samsung phone, sign in to your current Google account (or a new Google account) to sync your contacts, then sign in to the same Google account on the new Samsung phone, your contacts will display on your new phone in a few minutes.
Step 1: Associate Google account on your new Samsung: tap Settings > Accounts > Google, and sign in to the same Google account on your old Samsung.
Step 2: On the Google account screen above, switch on the “Sync Contacts” button. Then you may need to wait for several seconds to see the synced contacts on your new Samsung phone.

Transfer Contacts Between Samsung Phone via vCard File
The vCard file, also known as the .vcf file (Virtual Contact File), is a file format standard for contacts data. On Samsung devices, you can import/export contacts via vCard files between different devices. The vCard file can be transferred to multiple devices. Check how to export the contacts from Samsung to Samsung in the below explanation.
Step 1: On your source Samsung phone, open the “Contacts” App. Take Samsung S7 for example, at the top right corner there is a More icon (three vertical dots), tap the icon and tap “Settings” from the menu. Next, tap “Import/Export contacts” > “Export” > “Export to device storage”.

Step 2: Connect your two Samsung devices to the computer using USB cables. On your computer file explorer, open your source Samsung and find the vCard file in the location, then transfer the vCard file to your destination Samsung location by copying and pasting. Remember the storage location the pop-up shows, where the vCard file would be stored after being generated, and hit OK.
Step 3: At your destination Samsung, go to the Contacts App. Tap More icon > Settings > Import/Export contacts > Import > Import from device storage. When it popups the box “Save contact to”, choose “Device”. Then tap OK on the “Select vCard file” box. Next, select the .vcf file and tap OK to import contacts from the vCard file.
Whereas, when transferring data from your old Samsung to another new one, it’s better to transfer all you want in one step. While Google account cannot transfer all kinds of phone data and cannot transfer data in one step. So, if you don’t want to be so tired, turn to the Phone Transfer software, which can help you transfer all data from Samsung to Samsung in one click.
How to Transfer Contacts Between Samsung Phones with One Click
MobePas Mobile Transfer is the best choice if you don’t want the complicated steps used in the above methods. Maybe it’s strange to you, but it’s truly worth recommending for its perfect performance. With the help of MobePas Mobile Transfer, not only contacts but also your photos, music, apps, notes, call logs, messages, documents, etc. could surely be transferred to the destination Samsung. As an example, below are the steps for contacts transfer with Phone Transfer Toolkit, from which you can get help to transfer data in one click.
Step 1: Launch MobePas Mobile Transfer on the computer. Choose the “Phone to Phone” feature from the several options.

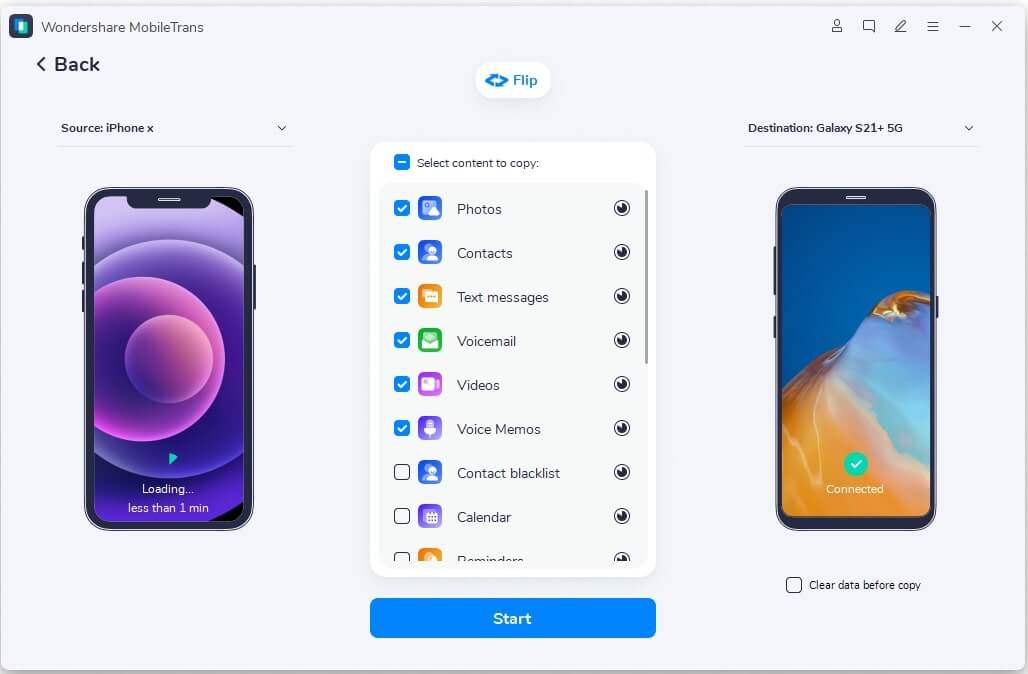
Step 2: When prompted, connect the two Samsung devices to the computer respectively using USB cables. Use the “Flip” button to change the Source and Destination phone if they are not on the right side.

Note: You must make sure the Source and Destination sides are displaying the right phones you would like them to be.
Step 3: Select the transferring data type to copy to the destination Samsung, here you may tick Contacts, and also you can tick the others to copy all the data from the Source (by left side) to the Destination (by right side). This toolkit allows you to erase the Destination phone before you copy the data to it, if you like, check the “Clear data before copy” near the Destination Samsung.
Step 4: Once you have selected down, click on the “Start” button to start transferring process. What you should do next is to wait patiently for the process to end up. Please don’t disconnect either Samsung during the process. In a second all you selected will be transferred to the Samsung you chose as the Destination phone.

Clearly, if your destination Samsung is new, transferring all wanting data from the old Samsung is suggested, because it’s more convenient to use the new Samsung with your created data in the old Samsung in the previous time. As for complete data transfer, of course, you may want to use the free Google account, but actually, it will not transfer all the data such as your Apps and App data. And the operation is not as simple as MobePas Mobile Transfer. So, we advise you to use MobePas Mobile Transfer. If you try this tool, you will find that it cannot only transfer data but also back up and restore data on devices!

