It is possible for you to wirelessly share your iPhone passwords with friends and families, which makes it much easier for them to access your WiFi network if you don’t exactly remember the password. But like all other Apple features, this one can fail to work sometimes. If your iPhone is not sharing a Wi-Fi password and you don’t know what to do, this article offers you several effective ways to overcome this problem. Read on to learn 7 troubleshooting tips to fix WiFi password sharing not working on iPhone 13/13 mini/13 Pro/13 Pro Max, iPhone 12/11, iPhone XS/XS Max/XR, iPhone 8/7/6s/6, iPad Pro, etc.
Tip 1: Restart Your iPhone
Like most other iPhone issues, this one can be caused by small software glitches and settings conflicts. The good news is that these issues can be easily removed from the iPhone by simply restarting the device. To turn off the iPhone, press and hold the power button until the “slide to power off” shows up on the screen. Swipe to power off the device and then wait at least a minute before pressing the power button again to turn on the device.

Tip 2: Turn Wi-Fi Off And Then Back On
This problem can also occur when there is a problem with the Wi-Fi network whose password you are trying to share. Turning off Wi-Fi and then turning it back on can reduce these connectivity errors, allowing you to send the password.
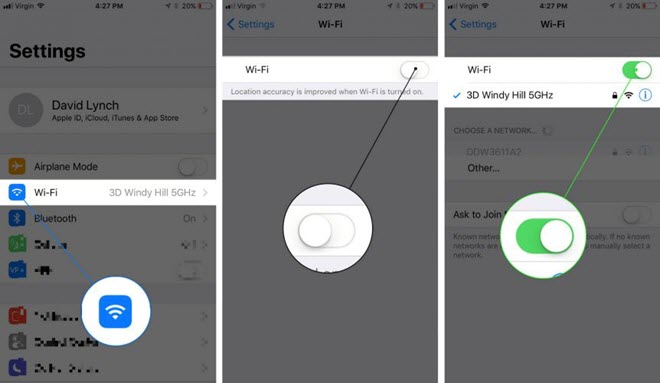
To turn off the Wi-Fi on your iPhone, go to the Settings > Wi-Fi and then tap on the switch next to it. Wait about a minute before turning it back on again.

Tip 3: Ensure Both iDevices Are Close to Each Other
Wi-Fi password sharing will only work if the device is close to another one. If they are too far apart, consider holding the devices much closer to each other, just to reduce the possibility that the devices are out of range.
Tip 4: Ensure Both iDevices Are Up To Date
All iOS devices that you are trying to share the Wi-Fi password with should be running iOS 11 or later. To check if the device is up to date, go to Settings > Genera > Software Update. If the device is up to date, you should see a message saying “Your Software is up to date”. If an update is available, tap “Download and Install” to update the device.

Tip 5: Reset Network Settings
Anytime you are having problems with Wi-Fi connectivity, the best solution is to reset the network settings. This may erase all the Wi-Fi, VPN, and Bluetooth data stored on your iPhone, but this will eliminate any glitches that could be causing problems with your connections.
To reset the network settings on your iPhone, go to Settings > General > Reset > Reset Network Settings. Enter your passcode when prompted and then tap “Reset Network Settings” to confirm the process. After reset, you need to reconnect to the WiFi network and enter the correct password. In such case, it would be easier to have the other person to enter the WiFi password manually rather than resetting the network settings.

Tip 6: Repair iPhone System without Data Loss
If all the solutions above fail to fix the problem and your iPhone is still not sharing WiFi passwords, it is possible that the iOS system itself may be damaged. In this situation, you need an iOS system repair tool that will help you fix your iOS system and bring your iPhone back to normal. The best tool to choose is MobePas iOS System Recovery for the simple reason that it will allow you easily repair the iOS system without data loss.
Below are more features that make it the ideal system repair tool to choose:
- It can be used to repair various issues with the iPhone. For example, iPhone not sharing WiFi password, iPhone won’t connect to WiFi, iPhone black screen, iPhone stuck in Apple Logo, boot loop, etc.
- It offers users two repair modes to ensure a higher success rate. The standard mode is ideal for fixing common issues without data loss while the advanced mode is ideal for more serious problems.
- It has a simple user interface, making it an easy choice even for the beginner.
- It supports all iPhone models and all versions of iOS including iPhone 13 and iOS 15.
To fix iPhone not sharing WiFi password without data loss, follow these simple steps:
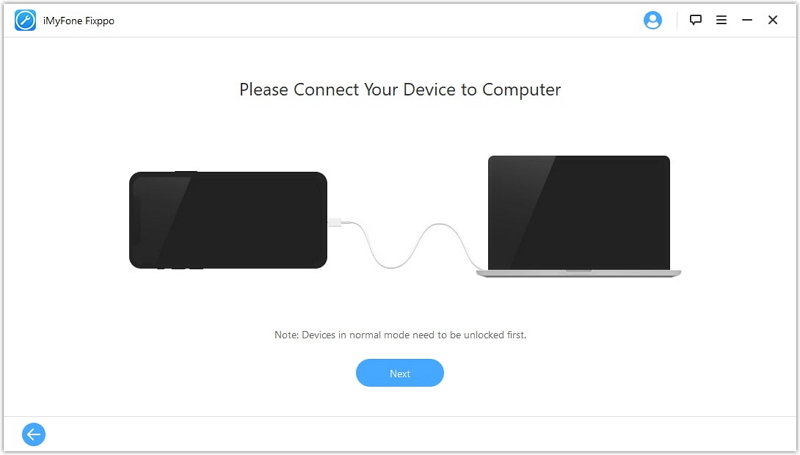
Step 1: Download and install the iOS repair tool onto your computer and launch the program. Connect the iPhone to the computer using a USB cable. You may have to unlock the device to allow the program to recognize it.

Step 2: Once your device is detected, choose “Standard Mode” to begin the repair process. If your device can’t be detected, follow the on-screen prompts to put the device in DFU/recovery mode.

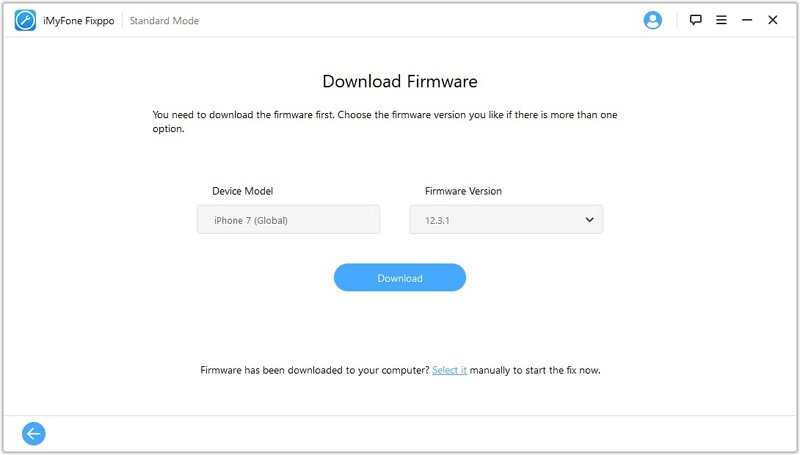
Step 3: The program will then detect the iPhone’s model and present various firmware options to download. Select the preferred version and then click on “Download” to begin downloading the firmware.

Step 4: When the download is complete, click on “Repair Now” and the program will begin fixing the device immediately. When the repair is complete, the iPhone will restart and back to its normal state.

Tip 7: Contact Apple for Help
If you’ve completed the steps above but you still fail to share WiFi passwords on your iPhone, it is likely that your device experienced a hardware issue. A small switch inside the iPhone that allows the device to connect to Wi-Fi and Bluetooth networks could be broken.
If the iPhone is still under warranty, you should contact Apple support and make an appointment to bring the device to your local Apple Store to get it fixed.
It is also possible that you are simply not using the feature correctly. Therefore, we thought we’d share with you the correct way to share Wi-Fi password on your iPhone or iPad:
- To get started, make sure that both Wi-Fi and Bluetooth are turned on for the two devices. Ensure that your Apple ID is on the other person’s Contacts App and turn off Personal Hotspot. Keep the devices close and ensure they are up to date (running at least iOS 11).
- Unlock your device and then connect it to the Wi-Fi network that you want to share its password.
- Select the same Wi-Fi network on the device you are trying to share the password with.
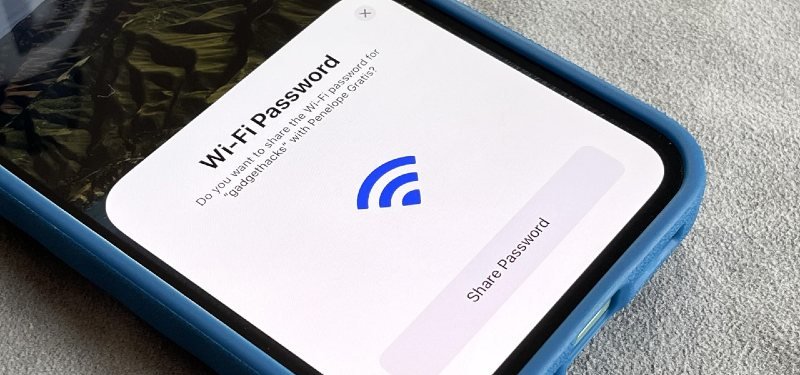
- Tap on the “Share Password” option on your device and then tap “Done” to complete the process.


